
We got a lot of exciting news, and none of it was about the router.
You buy cameras for the sense of security they provide. You can see them. Mount them. Share the app with your neighbour. And … a router is just a flaky plastic box in a cupboard, left behind by someone from the cable company in 2019.
The issue with that is your cameras can only be as good as the network that is carrying footage. But here’s the thing – when a camera loses connection for 11 seconds, it doesn’t warn you. Does not flash red.
It simply… doesn’t record. A week later, when you realize that you missed the one clip you actually wanted, you discover that it’s gone, and it’s already too late to recover.
It’s the least glamorous and — pound for pound — the most important part of a home security system.
Let’s fix it.
Your Network Is the Real Security System
Imagine the two seconds following when motion activates your back door camera.
The camera wakes.
It captures.
It encodes.
And it will send those clips via WiFi to your router, then your router will push them to a hub or to the cloud. After that, your phone rings.
All those steps pass through your network. Weak signal at the back door and the chain breaks somewhere in the middle: you get a notification without a clip attached, or the live feed buffer fills with nothing, or a smart lock that responds after eight seconds of tapping.
That’s nothing to do with the camera. The problem was never the camera; you could throw away the camera, and purchase a better camera, and have the same results. This is one of the most frequently observed issues on systems that people are already unhappy with – the good hardware, suffocated by the network below it!
If you ask us, the correct setup of a home security camera network will accomplish three tasks.
- Keeps devices reliably connected.
- Walls them off from things that are sensitive.
- Maintains a sufficiently strong signal so that “connected” has a meaning at 2 am on a rainy day in February.
Your Cameras Should Not Be on the Same Network as Your Laptop
Let’s discuss the one thing that almost nobody gets right.
This is how it looks right now in most houses: A video doorbell, three cameras, a smart plug made by a brand that nobody knows, a kid’s tablet, and a laptop with the banking tab open – all running on a single flat network, all implicitly trusting one another.
The cheapest smart plug that you have at home is the weakest, and it’s connected to the same network as your laptop. There’s the crux of the issue in one sentence.
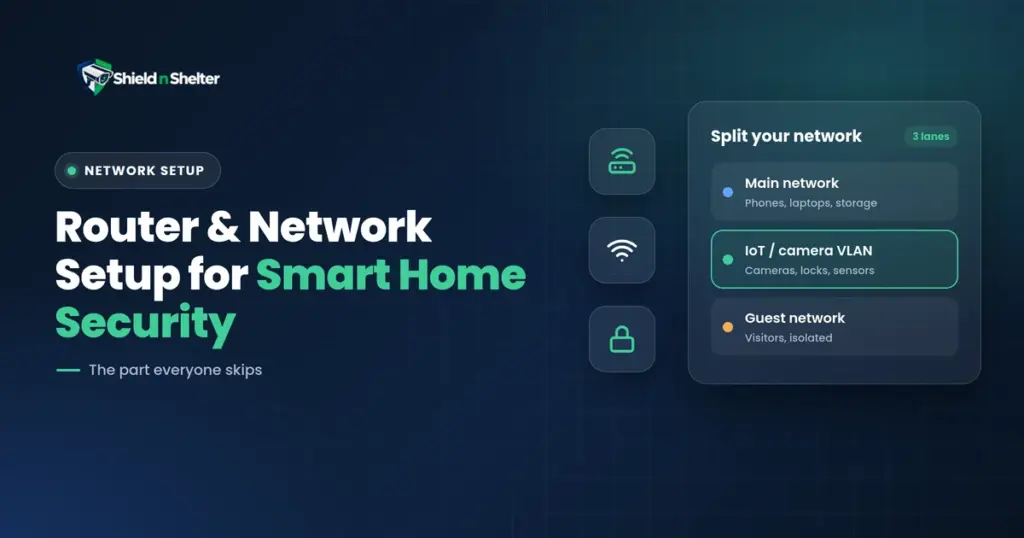
The solution is network segregation, and it’s not as complicated as it seems. Most modern routers have a guest network capability, at least. Better ones can support VLANs (Virtual LANs), which are independent, isolated lanes of communication passing through the same physical router, but which cannot “talk” to one another.
This is the appearance of a clean setup:
- Main network — Phones, laptops, any data storage device that you don’t want to lose.
- IoT/camera VLAN— PCs, laptops, tablets, smartphones, Chromebooks, Chromebots
- Guest network – Guests, isolated from both of the above networks.
All cameras are on an IoT/VLAN, and a compromised camera is unable to escape from its sandbox. It isn’t able to access your laptop, as in the eyes of the network, there’s no laptop.
The hidden advantage? Camera streams consume a lot of bandwidth, and having their own lane means that your video call won’t stutter when somebody walks past the driveway.
Don’t you have a router that supports VLANs? Creating a basic guest network for all IoT devices is a good thing to do, and it will only take you ten minutes — today.
If you’re purchasing a router for your security system, VLAN support is a factor more important than top speed. The upgrade from 800 Mbps to 1200 Mbps isn’t going to be noticed. The difference between segmented and not will be immediately apparent the day something goes wrong.
Router Placement: Where the Box Goes Actually Matters
The only thing that matters is the position of the camera. Power outlets are used to place the router in the corner. Just a camera that hits the right target with two bars of signal is a camera that misses the shots when you need it the most, though, so the box has got to be thought of as well.
Central, elevated, out in the open. Signals are absorbed by interior walls, and are absorbed rapidly by metal studs, tile and brick. A centrally located at chest height router uses much more usable space than the one in the corner cupboard behind the board games.
Line of sight is better than distance. A camera placed 40 feet away that has an open path will be more effective than a camera placed 20 feet away behind two walls and a refrigerator.
Measure obstacles, not metres. Apart from other electronics. Your outdoor cameras are competing with other devices for the same 2.4GHz band that they are using for signal: microwaves, cordless phone bases, and baby monitors. There have been more complaints about “faulty camera” after only moving the router 3 feet away from the microwave than after any firmware update.
Be prepared to assist with outside cameras. Even if a router is placed correctly, it can’t make it to a detached garage or back gate without much help from its friends. This isn’t a placement failure. This is a death zone, and it requires its own immediate solution.
Killing Dead Zones Without Buying a New System
When a camera keeps dropping, the instinct is to purchase another camera. Resist it. Instead, do this list, which is roughly sorted by cost and ease, from cheapest to easiest.
1. Do not spend money until they have been moved. Some dead zones are closed by moving the router a few feet or by lifting it off the floor. Free. Use it once, use it again.
2. Choose mesh over a single extender. Your Wi-Fi signal is rebroadcast by traditional Wi-Fi extenders and may degrade camera performance. A good mesh system establishes multiple strong connections and seamless handoffs — ideal for stationary devices such as cameras that are never moving but always require a strong connection.
3. Go wired wherever you reasonably can. There’s nothing extra on the Wi-Fi that can solve this issue as well as a run of Ethernet or a Powerline adapter to the garage.
4. Use PoE cameras for your problem positions. Power over Ethernet cameras draw power and an unshakable hard-wired connection from a single cable, bypassing Wi-Fi range altogether — perfect for the far-flung locations that present problems.
5. Check for interference, not just distance. An otherwise trouble-free camera that is having problems with dropping frames is not likely to be dying. There is something new, close by, that is competing with it.
Thinking of Starting it All Over?
If you’re creating a system rather than patching one, the network deserves a place in the plan from day one, and not a scramble after the cameras arrive while one of them refuses to stay online. Our DIY Home Security: The Full Planning and Installation Guide walks through the whole build in order, network included, with budget-tiered shopping lists and a step-by-step install blueprint for a complete DIY home security system.
The Boring Foundation Under the Interesting Stuff
Almost all three of these are good habits to have:
- Segregate the IoT devices
- Don’t put your router in the place that has the outlet
- Don’t think of dead zones as a hardware problem to solve but a network problem.
Those three, plus the rest of the fun component of your security system (cams, alerts, app), finally have something to stand on.
An Existing System Optimization session is created to help you sort out a system that you already has you scratching your head, trying to figure out why everything is dropping off and why devices can’t all access the same network. Typically, without purchasing a new camera.
And now, you’re all set to go.