
Imagine you pass a porch light while walking by. It doesn’t turn on. But the little red LED behind the lens is blinking at you steadily as if it’s trying to say something.
It is, technically. The problem is that there is no standardization of that “something.” No industry standard blink code for security lighting: If one brand blinks fast, it means something different than the same fast blink to another brand. Every manufacturer created its own system of signaling, often not clearly explained in the box, leaving millions of people looking at a red light who don’t know the system is working, dying, or working improperly.
Motion lights are not for sale, and brands listed below are not affiliated with us. This is a simple decode, but it’s a decode against what each manufacturer actually documents, including where a manufacturer does not clearly document, because if he or she does, it wouldn’t be honest.
What the Blink Actually Means
One thing nearly always is true, before you get to the brand-by-brand breakdown, anyway: a ’blink’ during a walk-test or a ’live’ trigger is not an error.
Almost all PIR sensors have a red LED that illuminates the instant a body enters their field of view, making it easy for you to see the detection area when installing or aiming the fixture. Stand in front of the sensor with arms up, and the light flashes; it is functioning as expected.
Everything else is confusing, for example, a blink when no one is around, a blink at an odd interval, a blink that never ends.
Decode Table by Brand Family
| Brand / Family | Steady Red (Idle) | Slow Blink | Fast / Rapid Blink | Red-then-Green |
|---|---|---|---|---|
| Defiant | If not a documented normal condition, there may be a fault or a stuck photocell. | For a solar security model, the documented low battery warning is a slow flashing red light at night, the unit is about to auto-shut-off to protect the battery. | Unconfirmed by Defiant; many reported by owners following a power surge or brownout, typically solved by a power cycle. | To clarify, in solar models, green is used to signify the solar battery is charging and not a transition sequence to red. |
| Leviton | When the PIR is actively sensing motion in an “idle” room — check orientation; may be sensing HVAC vents or ceiling fan. | Does not give a standard idle signal on most Leviton switches; if it blinks for a long time, it means that the sensor is detecting something, but it cannot be seen. | The following is normal pairing behavior and not a fault: Several Leviton smart sensors will flash red continuously during Bluetooth/app pairing for about 20-25 seconds. | When in Program/Setup mode, Leviton sensors flash red or green in short patterns to verify which mode you have set — it is not a decoration, but a “counted” pattern, and the number of flash counts is the important factor, not the number of flashes. |
| Heath Zenith | Where the sensor has reported the detected motion, but the fixture itself is not turning on… almost always a wiring, bulb, or photocell problem and not a sensor problem, as reported by many owners. | Not a common way to indicate the Zenith idle signal. | There are some models that will flash three times to indicate that a trigger has been detected in test mode; during test the 3 flashes is expected, but not a fault. | Not recorded as a “typical” transition on Heath Zenith’s consumer line. |
| Generic PIR heads (unbranded/import) | Wildly inconsistent – this is where it is very important to read the actual manual, as there isn’t really a convention here. | Often used as a low battery or standby heartbeat signal on battery/solar units. | Usually used for confirmation in the Walk-testing procedure. | Indicated on a dual-tech and app-pairable model to indicate a state change — pairing handshake completing, or two sensing technologies confirming agreement |
The honest recommendation sitting underneath that table: if your fixture’s manual doesn’t define a blink pattern, don’t count on a forum post that tells you it does. Half of what circulates online about “what the blinks mean” is guesswork taken from owners who were guessing too.
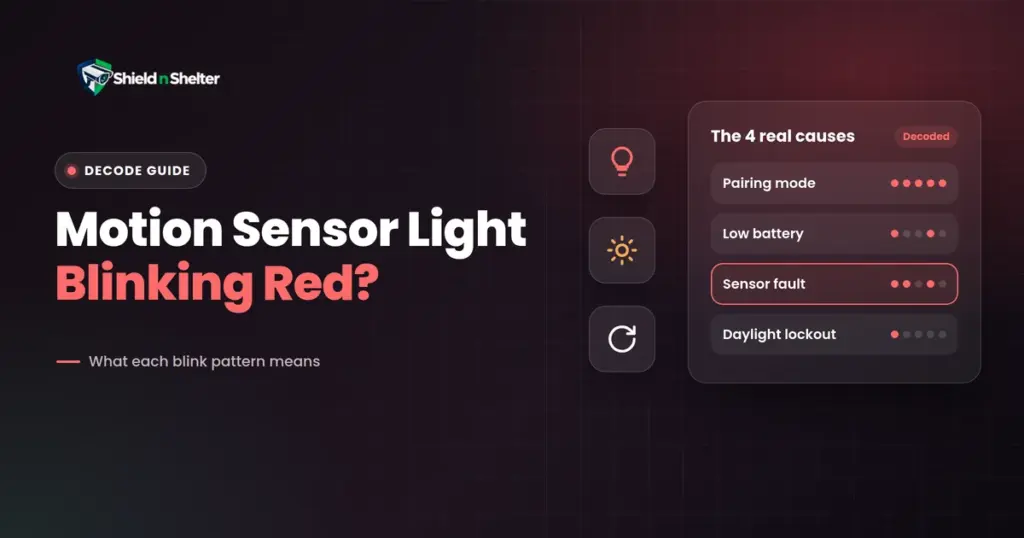
The Four Real Causes
Remove the brand-specific detail, and almost all red blinks you’ll find can be traced back to one of four causes.
1. Pairing or learn mode. When it is actively attempting a network connection or a Bluetooth handshake, the smart and app-connected sensors flash — red most of the time, sometimes red and then solid or green. This is likely if you’ve recently pressed a pairing button or opened a setup app. It will be resolved when pairing is done or when it times out.
2. Low battery. It’s a slow, steady blink (usually every few seconds or so) that is often a battery’s way of saying that it’s running low and the unit may be doing less or shutting down altogether to protect itself, particularly on solar and wireless fixtures. Before jumping to the conclusion that the battery has failed, inspect the correct placement and direct sunlight in front of the solar panel.
3. Sensor fault. It is usually due to a fault within the board (not discussed: within the PIR sensor) and is a rapid, erratic, or no power-off blink pattern with no obvious trigger, especially one that occurred suddenly after a power event. This is where a reset really can be useful, as so often it’s not hardware at fault, but rather a jammed state.
4. Photocell/daylight lockout. This is the one most often incorrectly diagnosed of all. The light won’t turn on even on a cloudy afternoon or if the photocell window is dirty, shaded, or pointed in the wrong direction, because many fixtures blink normally to confirm that they are detecting movement. This is probably the reason your light blinks but won’t actually light up during the daytime – more often than not, this is because your sensor is broken.
The Universal Reset
This is a no-cost solution and will solve most of the “blink” problems before assuming a fault:
- Turn the power off and on for 30 seconds. Switch off the power at the power switch or remove the plug from the power cord. Wait 30 seconds — not five, not 10 — for any capacitors on board to discharge completely before turning on the power again.
- Hold test mode. If the fixture timer dial has a Test position, use it. The test mode skips the photocell specifically, so you will be able to test for motion detection in the daylight to determine if the problem is the photocell or daylight-lockout.
If this sequence is not the blink pattern or if it is interrupted by a blink pattern, you were not observing a dying unit, but rather a stuck state.
Why This Belongs in Layer 2 – Exterior
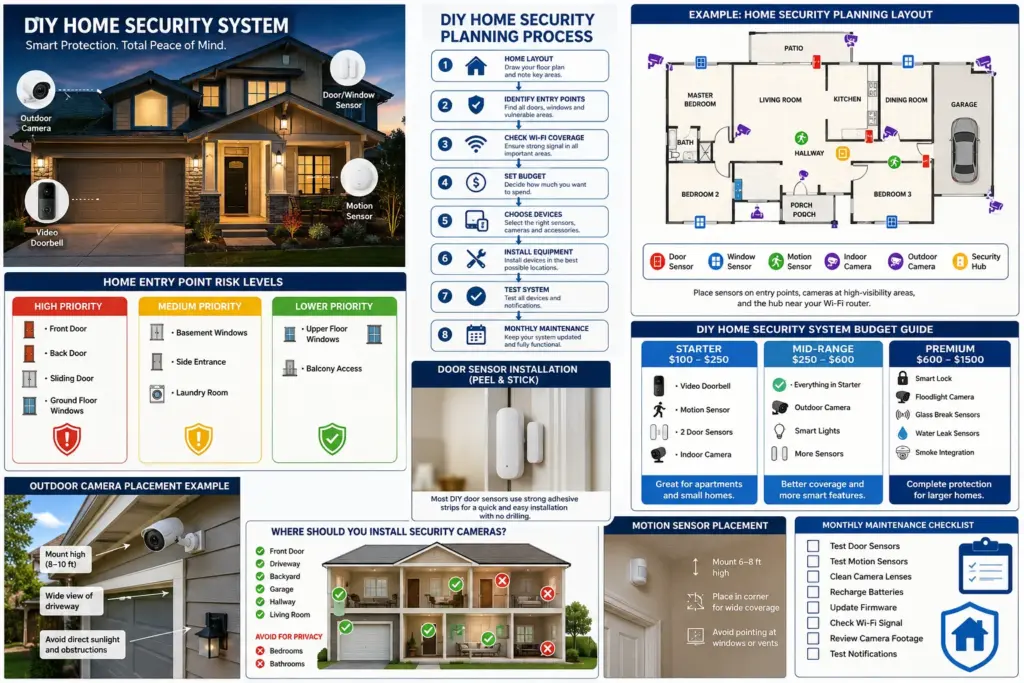
In a proper five-layer home security plan, exterior lighting sits in Layer 2: Exterior – Exterior lighting is in the layer of your home security plan that precedes perimeter before you get to your doors and windows, and it is considered to be in Layer 2 – Deterrence and visibility around the property. It does this job entirely: it enhances approachability, both to a camera and to people who are watching.
A light that doesn’t work silently does not call itself a gap. One night, it just gets dark, and the coverage that was there evaporates, with no notification or alert on your phone to say Layer 2 just went blind at the corner of the house without anyone looking.
But the actual reason to learn to read these blinks, and not to ignore them: a light with a blinking red LED is typically saying something valuable. If the light is no longer on at all, it does not say anything to you anymore.
One habit that will cure this once and for all: Take one day each month and turn on your exterior lights at dusk and observe each light flash on. Most homes will take less than 5 minutes to fill, and it is the only way to prevent a slow battery discharge or a photocell drift before it turns your home into a dark room.